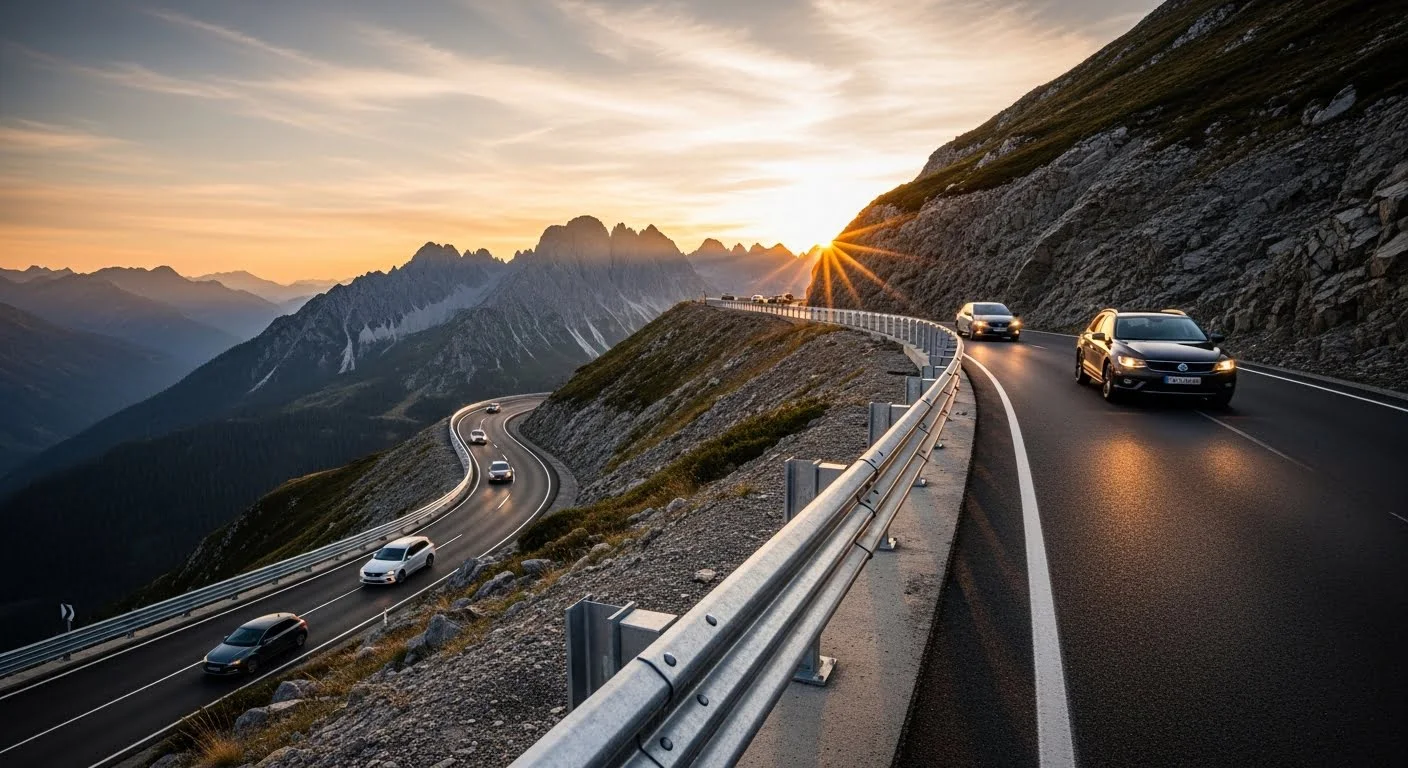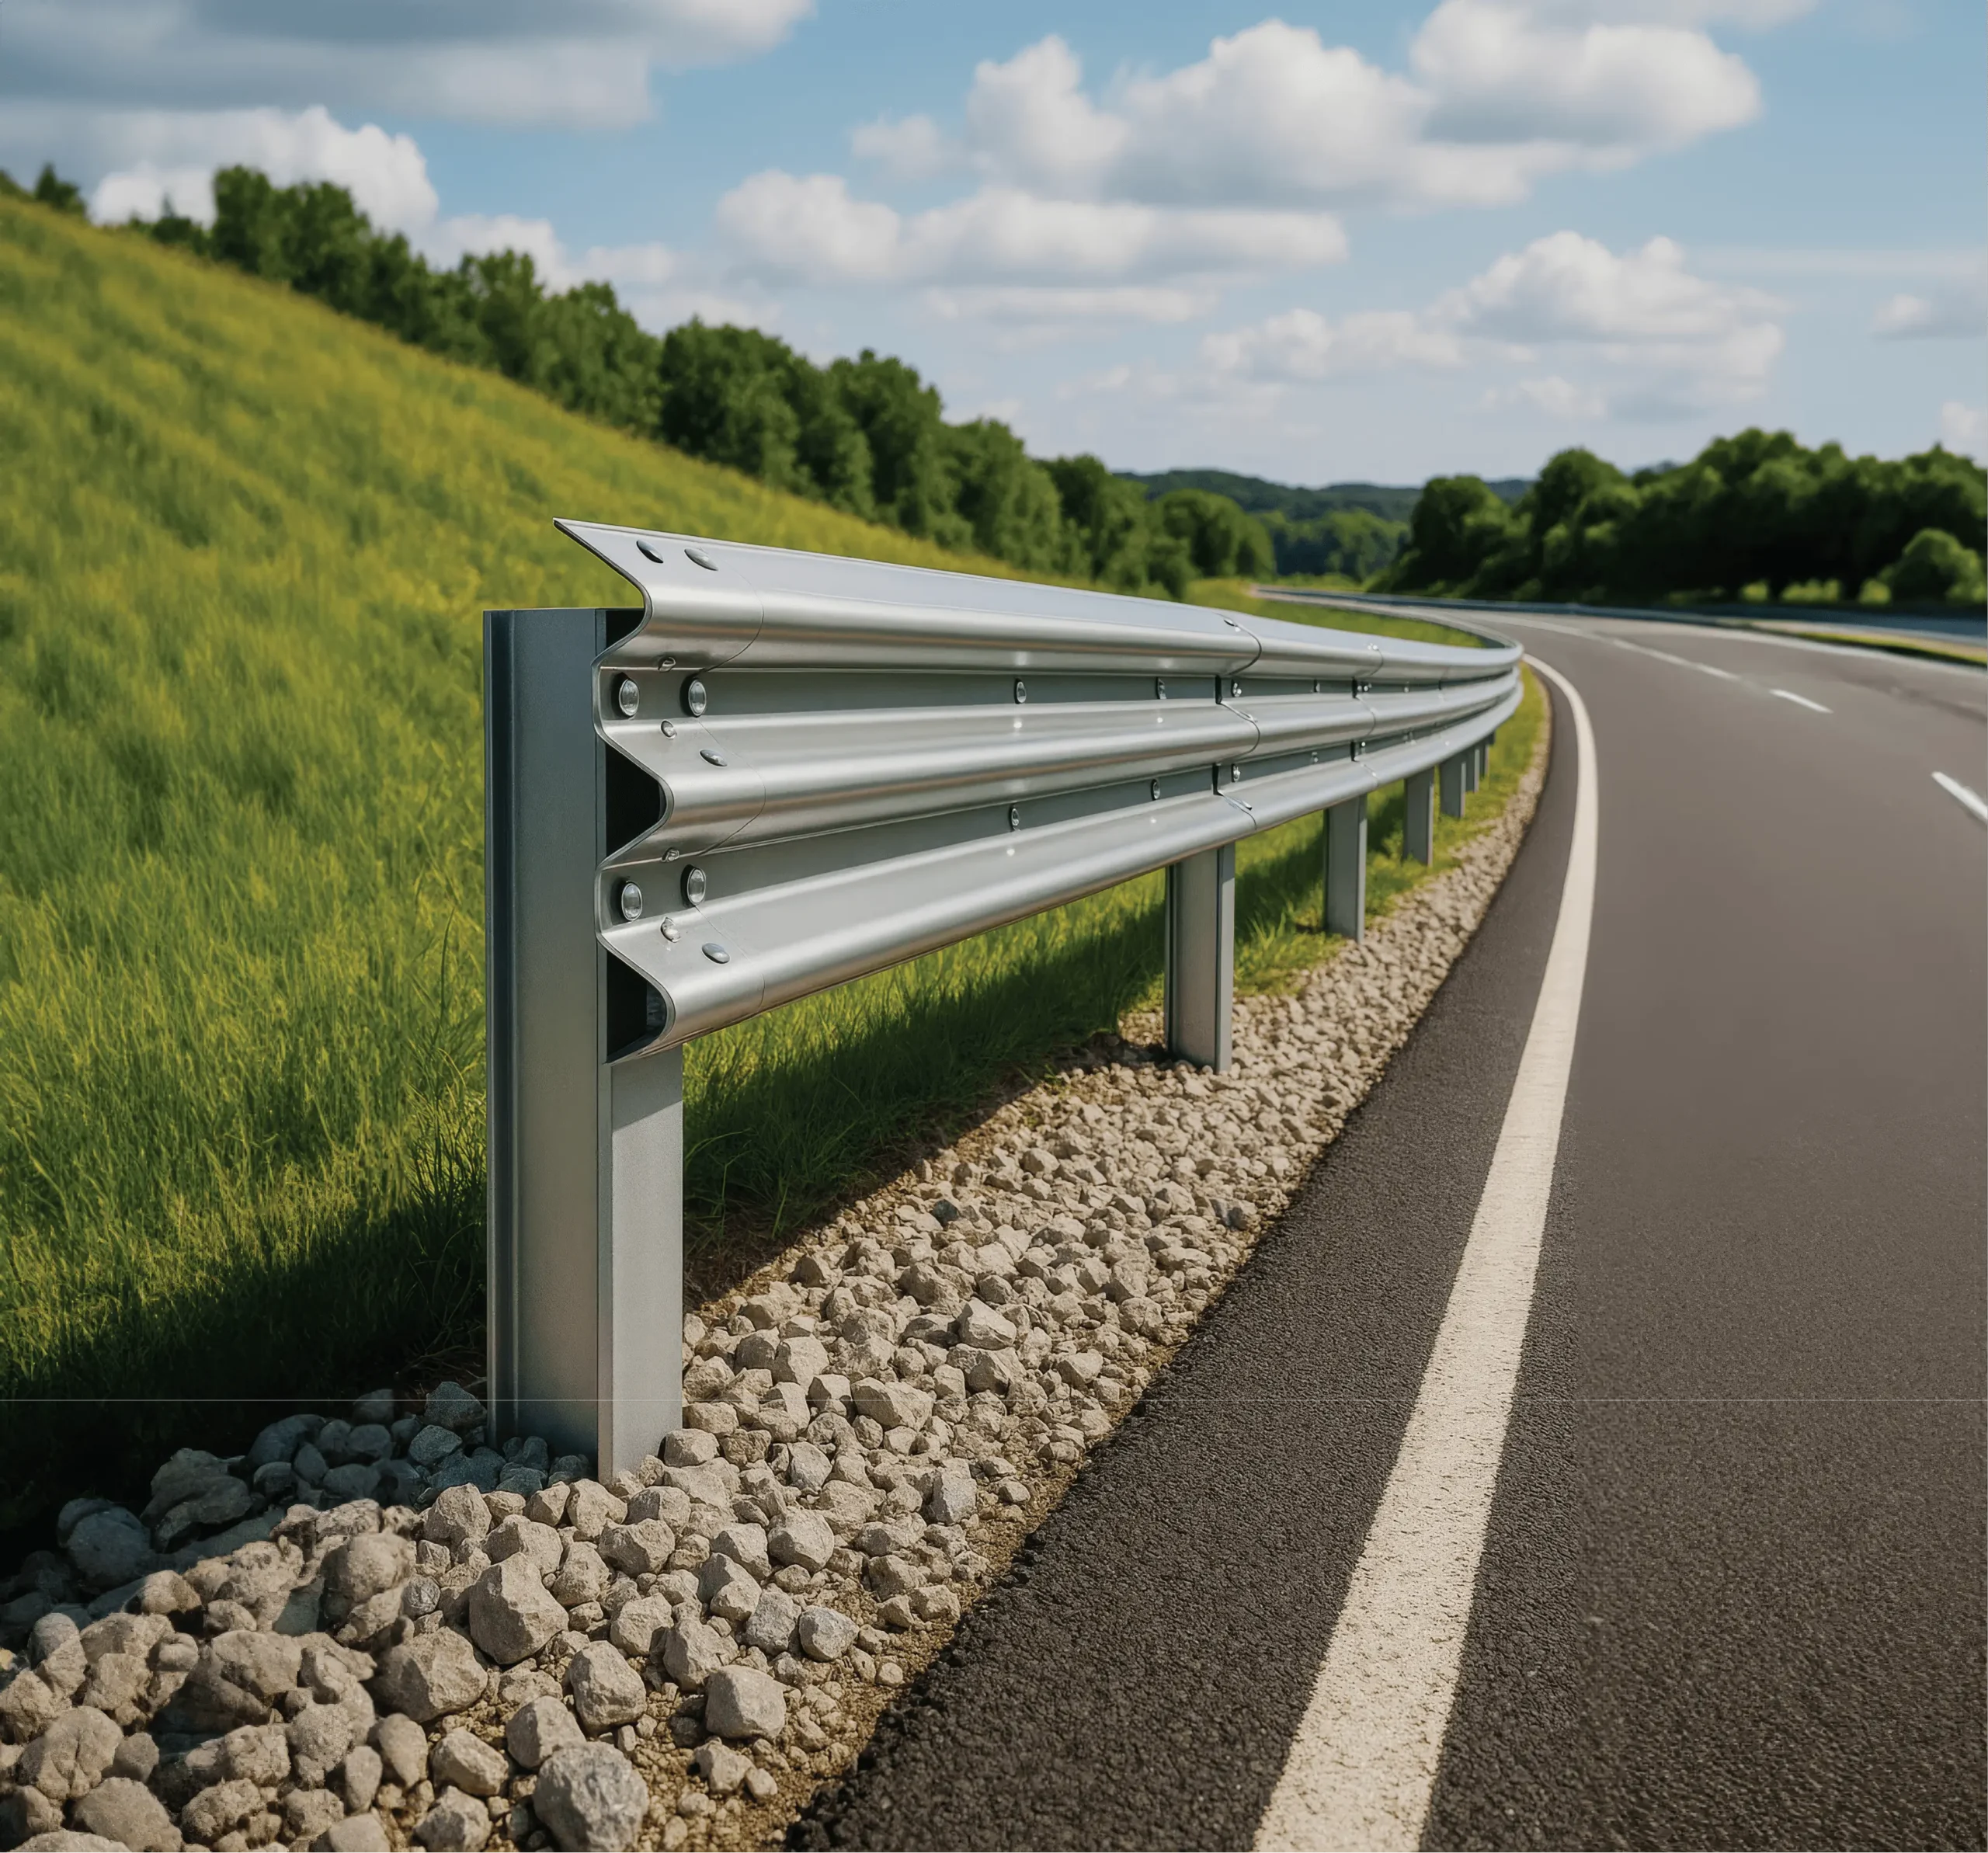
Road safety cannot be ensured by simply buying a quality barrier (guardrail). Even if you cover it with the world’s most durable steel and the best galvanized coating, if that barrier is driven into the ground incorrectly, if the rails are overlapped upside down or if the bolts are tightened incompletely, it can cause a bigger disaster instead of saving lives in the event of an accident.
Guardrail systems are engineering structures designed, tested and certified according to the EN 1317 (Road Grip Systems) standard. The performance of this system depends on the formula “Right Product + Right Installation”.
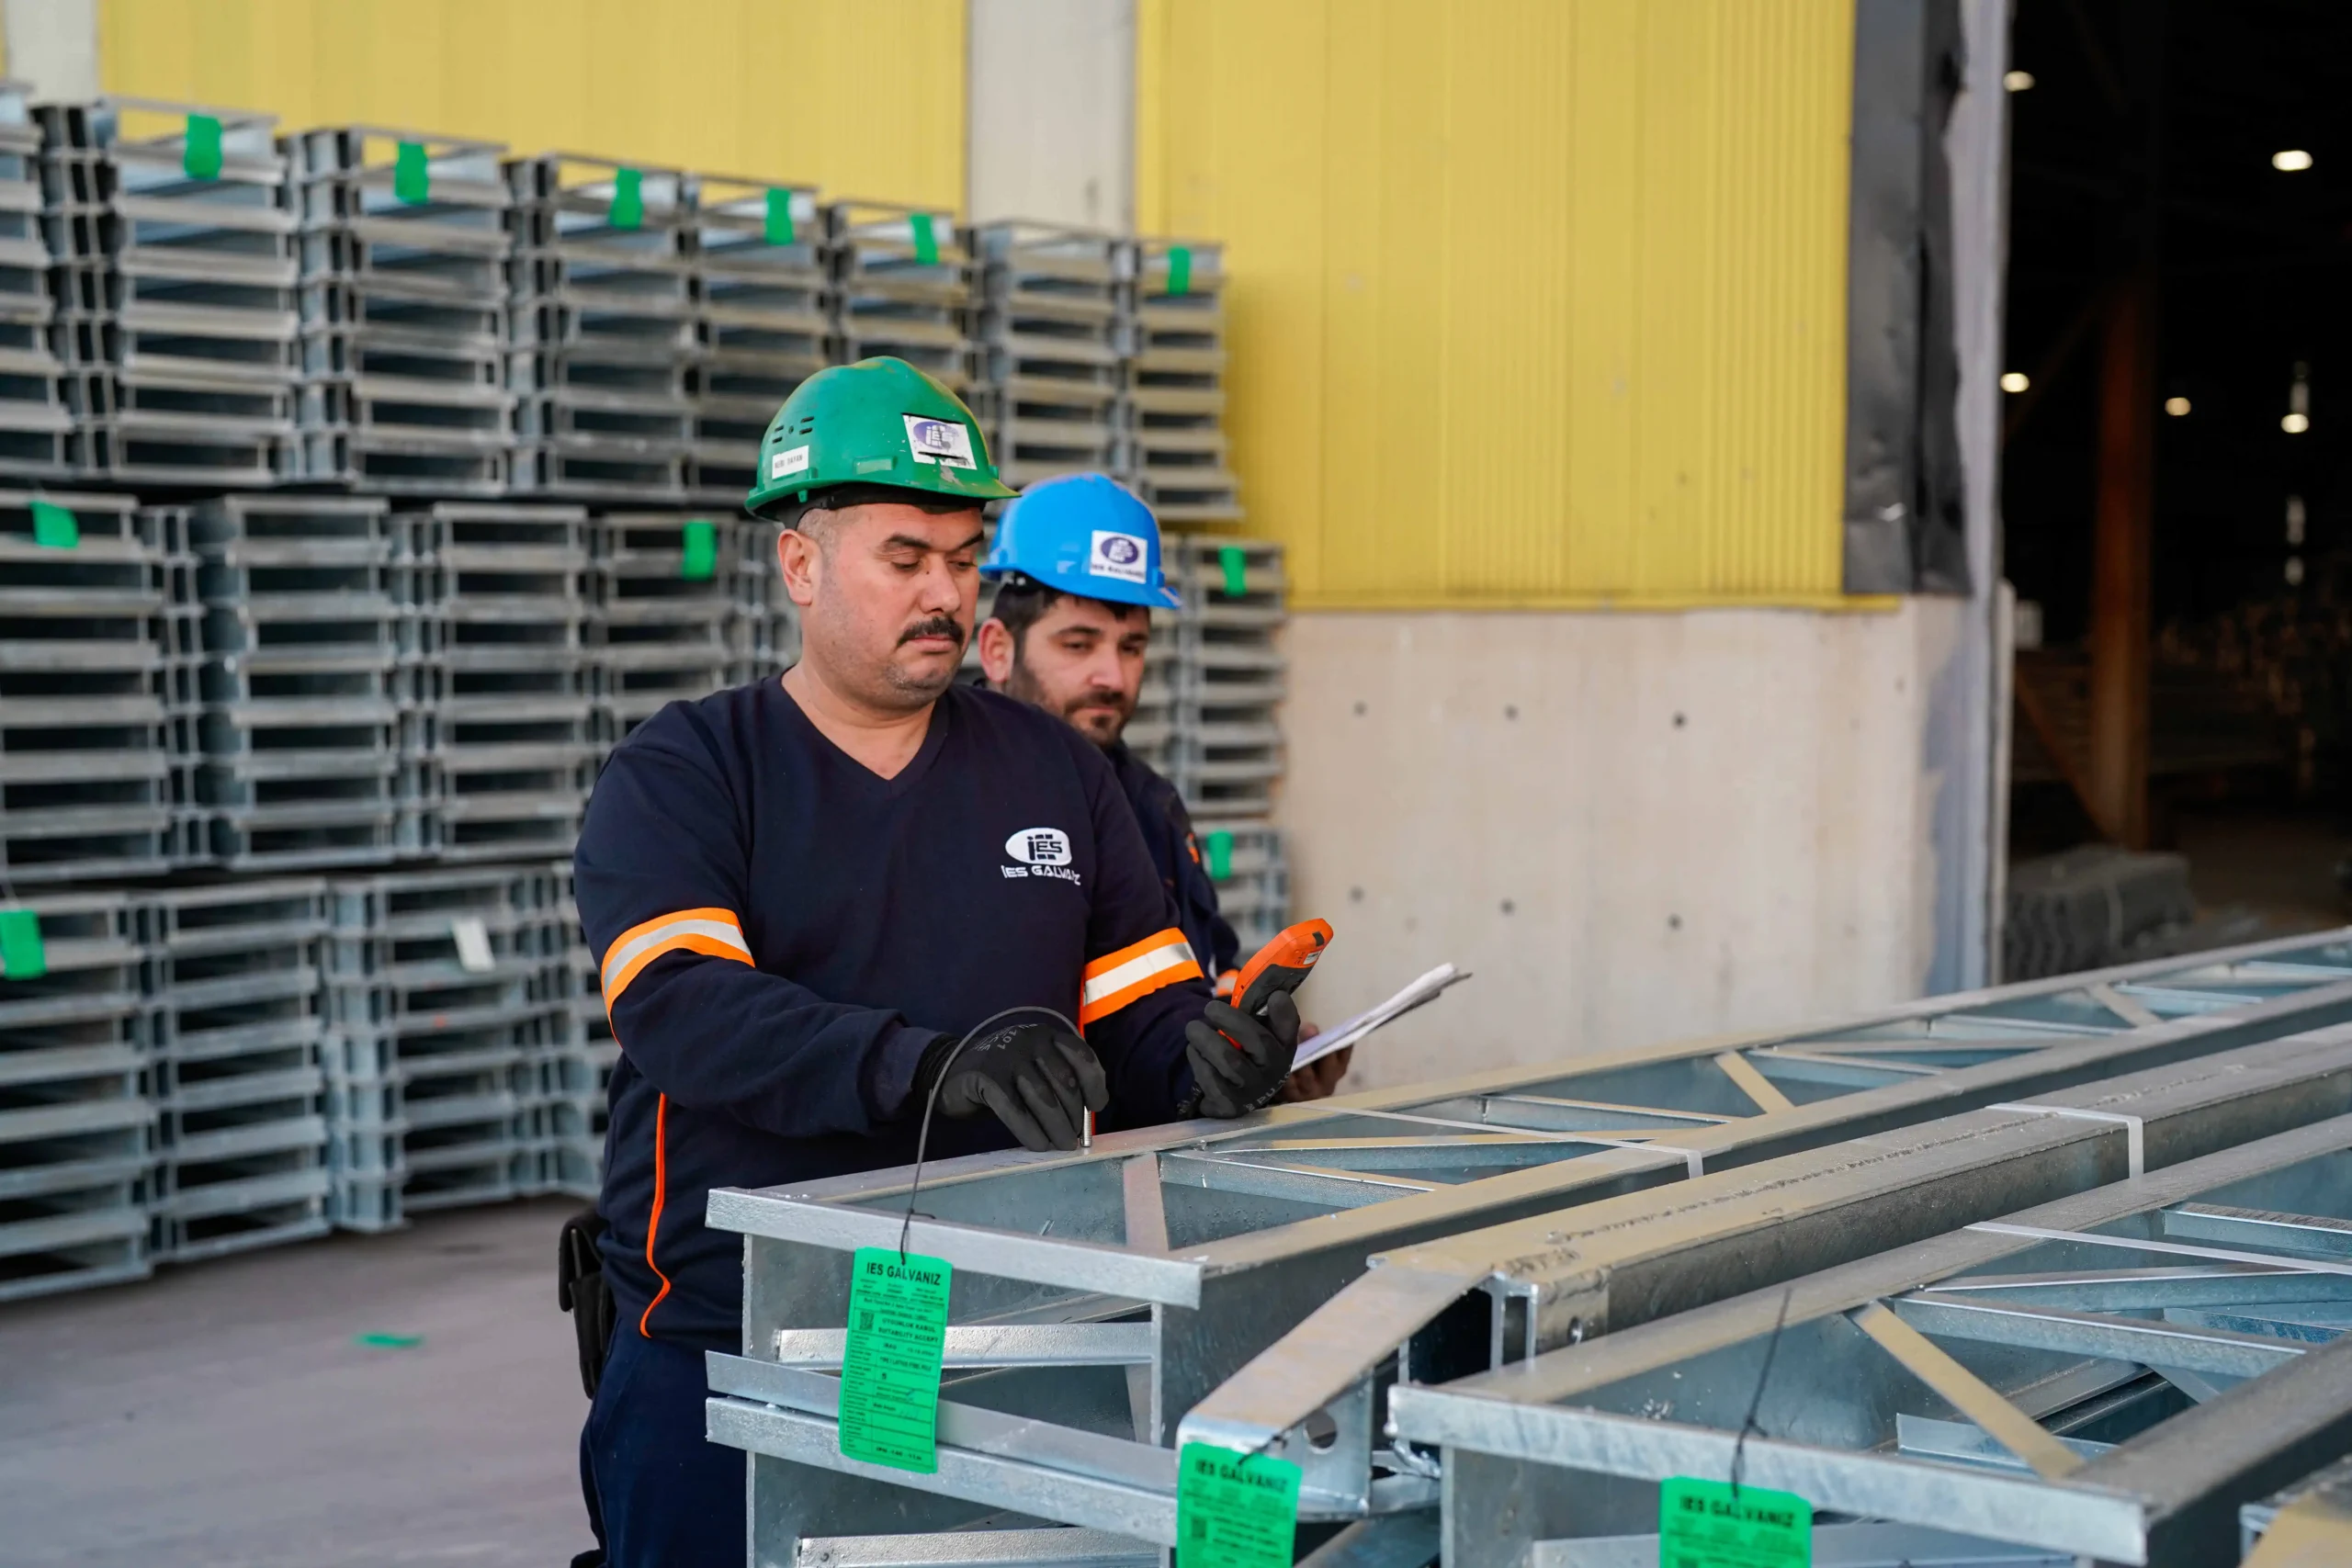
As İES Galvaniz, we do not only supply products with our annual production capacity of 120,000 tons; we work with millimeter CNC precision to ensure that every part (strut, rail, wedge) we produce is assembled in the fastest and most accurate way on site.
In this guide, we will examine all the processes of steel guardrails in technical detail, from pre-assembly preparation to step-by-step installation, from post-accident repair to periodic maintenance.
1. Pre-assembly Preparation and Site Analysis
A successful installation starts before the bucket or grader is even on site. Unplanned installations increase labor costs and pose safety risks.
Soil Investigation and Compaction
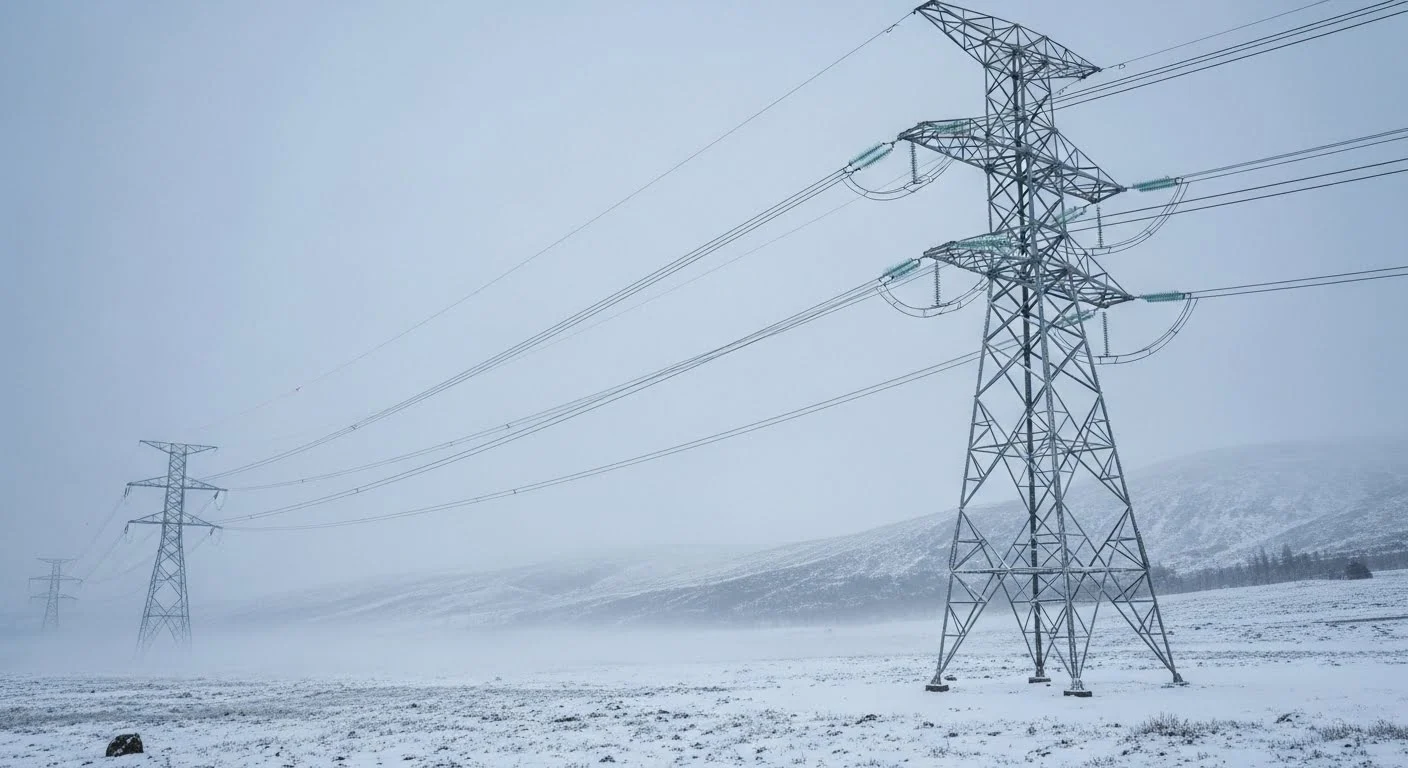
Guardrail posts absorb the energy of a collision by transmitting it to the ground. The condition of the ground is therefore critical.
-
- Compactness Control: The ground to be installed must have the compaction rate specified in the standards. In very soft or loose soils, the standard strut length (e.g. 1600mm) may be insufficient. In this case, in consultation with IES Galvanized engineering, longer uprights or ground improvement methods should be preferred.
Traffic Safety Measures
Installation is usually done right next to flowing traffic. For the safety of the teams:
-
- Warning signs should start at least 500 meters behind the work area.
-
- Strip narrowing should be done with traffic cones and flashers.
-
- All personnel must wear high visibility vests and hard hats in accordance with EN 20471.
Material Stocking and Logistics
Galvanized materials arriving by trucks from the IES Galvanizing factory can wait until the assembly line on site.
-
- White Rust Risk: If galvanized products are stored in the rain, without air and on top of each other (without wedges between them), “white rust” (zinc oxide) can form on the surface. This does not shorten the life of the coating, but it does spoil the aesthetics. The bottom of the materials should be raised with wedges and allowed to breathe.

2. Step by Step Steel Guardrail Installation
A guardrail system basically consists of 4 components: Post, Wedge (Spacer), Rail and Fasteners. Here are the steps for correct assembly:
Step 1: Application (Markup)
The line on the project is applied to the site. The points where the uprights will be nailed are determined by spray painting or stringing.
-
- Post Spacing: Post spacing varies according to the “Containment Level” of the system (N2, H1, H2 etc.). Usually marking is done at intervals of 1.33 meters, 2.00 meters or 4.00 meters. This degree of precision is vital to ensure that the rail holes are aligned with the uprights.
Step 2: Post Fastening
At the marked points, piles are placed with hydraulic pile drivers.
-
- Profile Types: C Profile, U Profile, Sigma Profile or IPE Profile uprights are used according to the project.
-
- Verticality: The uprights must enter the ground at a right angle of exactly 90 degrees. A crookedly driven strut makes rail installation impossible and reduces the resistance of the barrier.
-
- Depth: The part of the upright under the soil (socket length) must reach the depth specified in the standard (e.g. 110-120 cm) to prevent the system from tipping over.
Step 3: Spacer (Wedge) and Belt Installation
A “Spacer” is installed between the strut and the rail, which absorbs the impact energy and prevents the wheel from getting caught in the strut.
-
- This part allows the rail to flex when the vehicle comes into contact with the barrier and softens the impact. The wedges are bolted into the holes on the strut.
Step 4: Beam Assembly and Overlap Direction (Critical!)
The biggest and most dangerous mistake made in the installation of rails is “Reverse Overlap”.
-
- Golden Rule: The rails should overlap according to the direction of traffic flow. This means that the wheel or bodywork of the oncoming vehicle must slide over the rail without catching on the joint. If a reverse overlap is made, the end of the rail can be driven into the vehicle like a spear in the event of an accident.
-
- IES Galvanized rails are easily aligned thanks to standard mounting holes (slotted).
Step 5: Bolting and Torquing
After the whole system is assembled, the bolts (M16, M10, etc.) are tightened with a torque wrench.
-
- Quality: Hot-dip galvanized bolts of grade 8.8 must be used.
-
- Tip Point: The bolts (splice bolts) at the joints of the rails should be fully tightened, but the bolt connecting the rail to the chock should be left at a tolerance to allow expansion (may vary according to the system).
3. Critical Assembly Criteria According to EN 1317 Standards
The technical parameters that engineers and controllers should pay attention to on site are:
Mounting Height
The height of the top of the rail above the ground (H) determines the performance of the system.
-
- Very low installation: The vehicle can go over the barrier.
-
- Very high mounting: Small vehicles can drive under the barrier.
-
- Standard: It is usually between 70 cm and 75 cm (depending on the system it can go up to 85-90 cm). This height must be continuously checked with a tape measure throughout the installation.
Working Width (W)
Auto barrier works by flexing in the event of an accident. There should be enough space behind the barrier to allow for flexing.
-
- For example, if you are using a W4 class barrier, you cannot erect a lighting pole or concrete wall immediately behind the barrier. The stretching distance (approx. 1.3 meters) should be left empty.
Start and End Systems (Terminals)
The most dangerous places are where guardrails begin and end.
-
- Rail ends should never be left “cut”.
-
- Either it should be terminated by buried in the ground (flared end) or special energy absorbing terminals should be used.
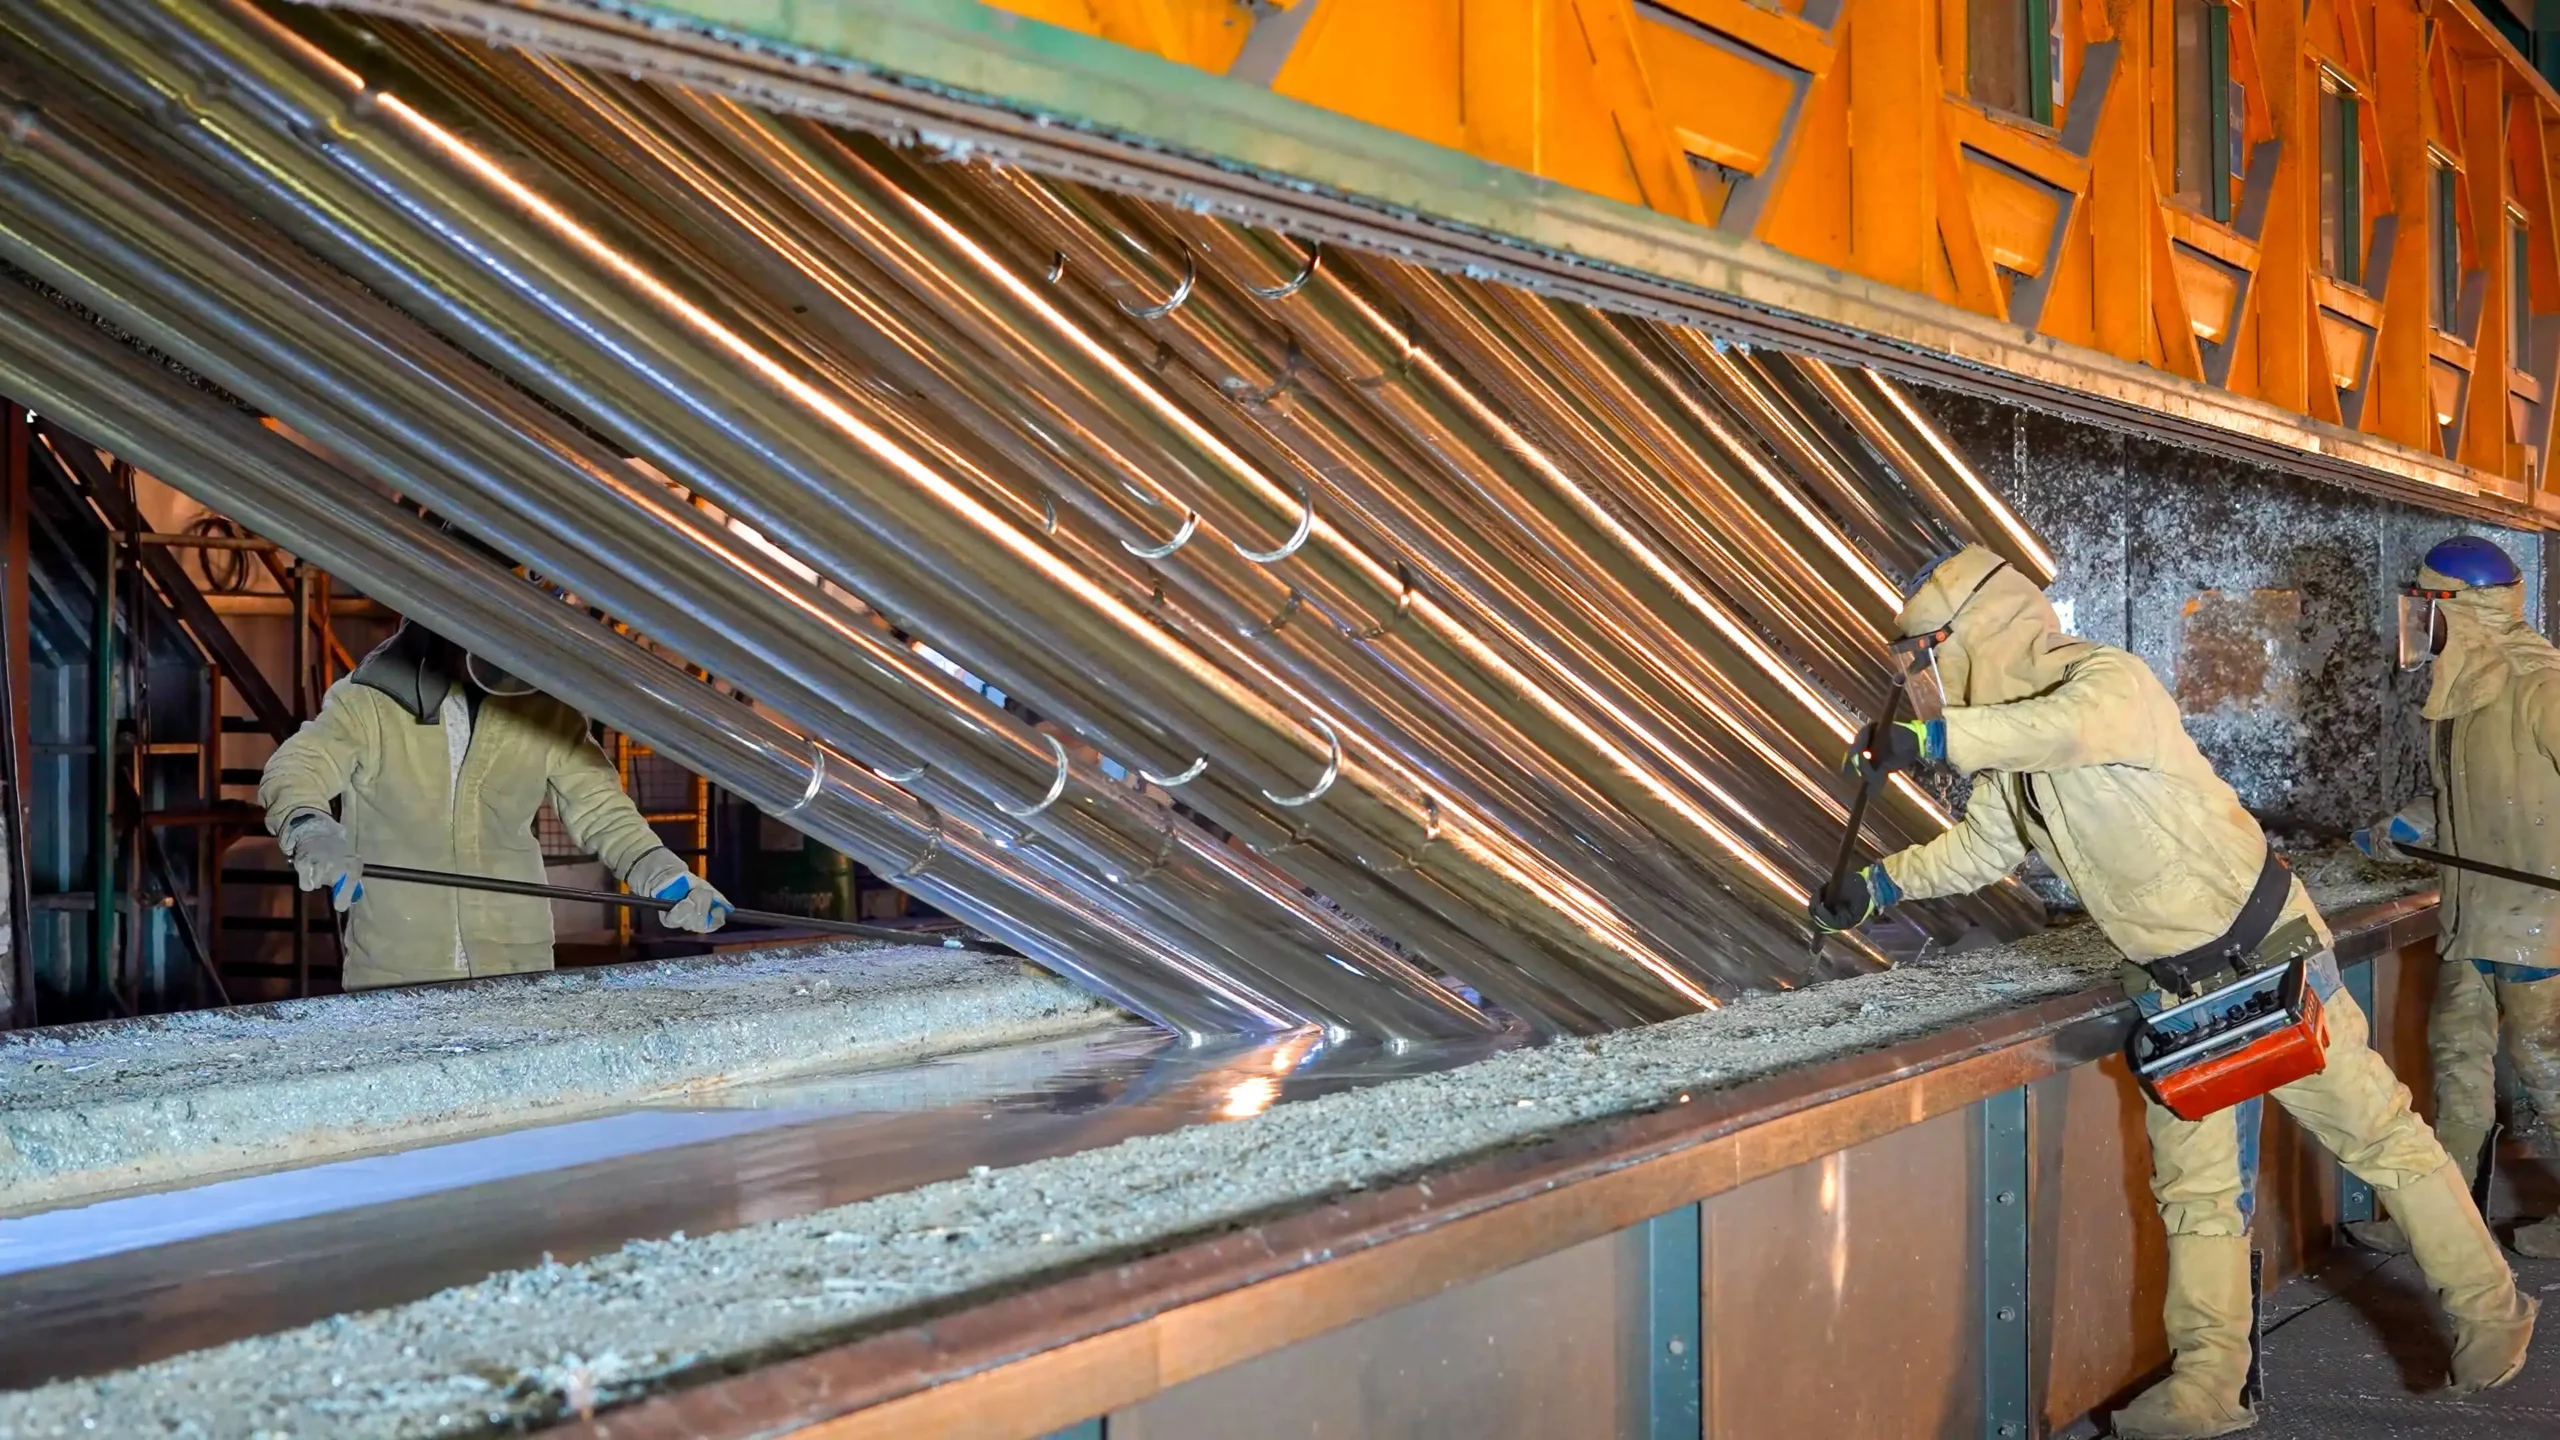
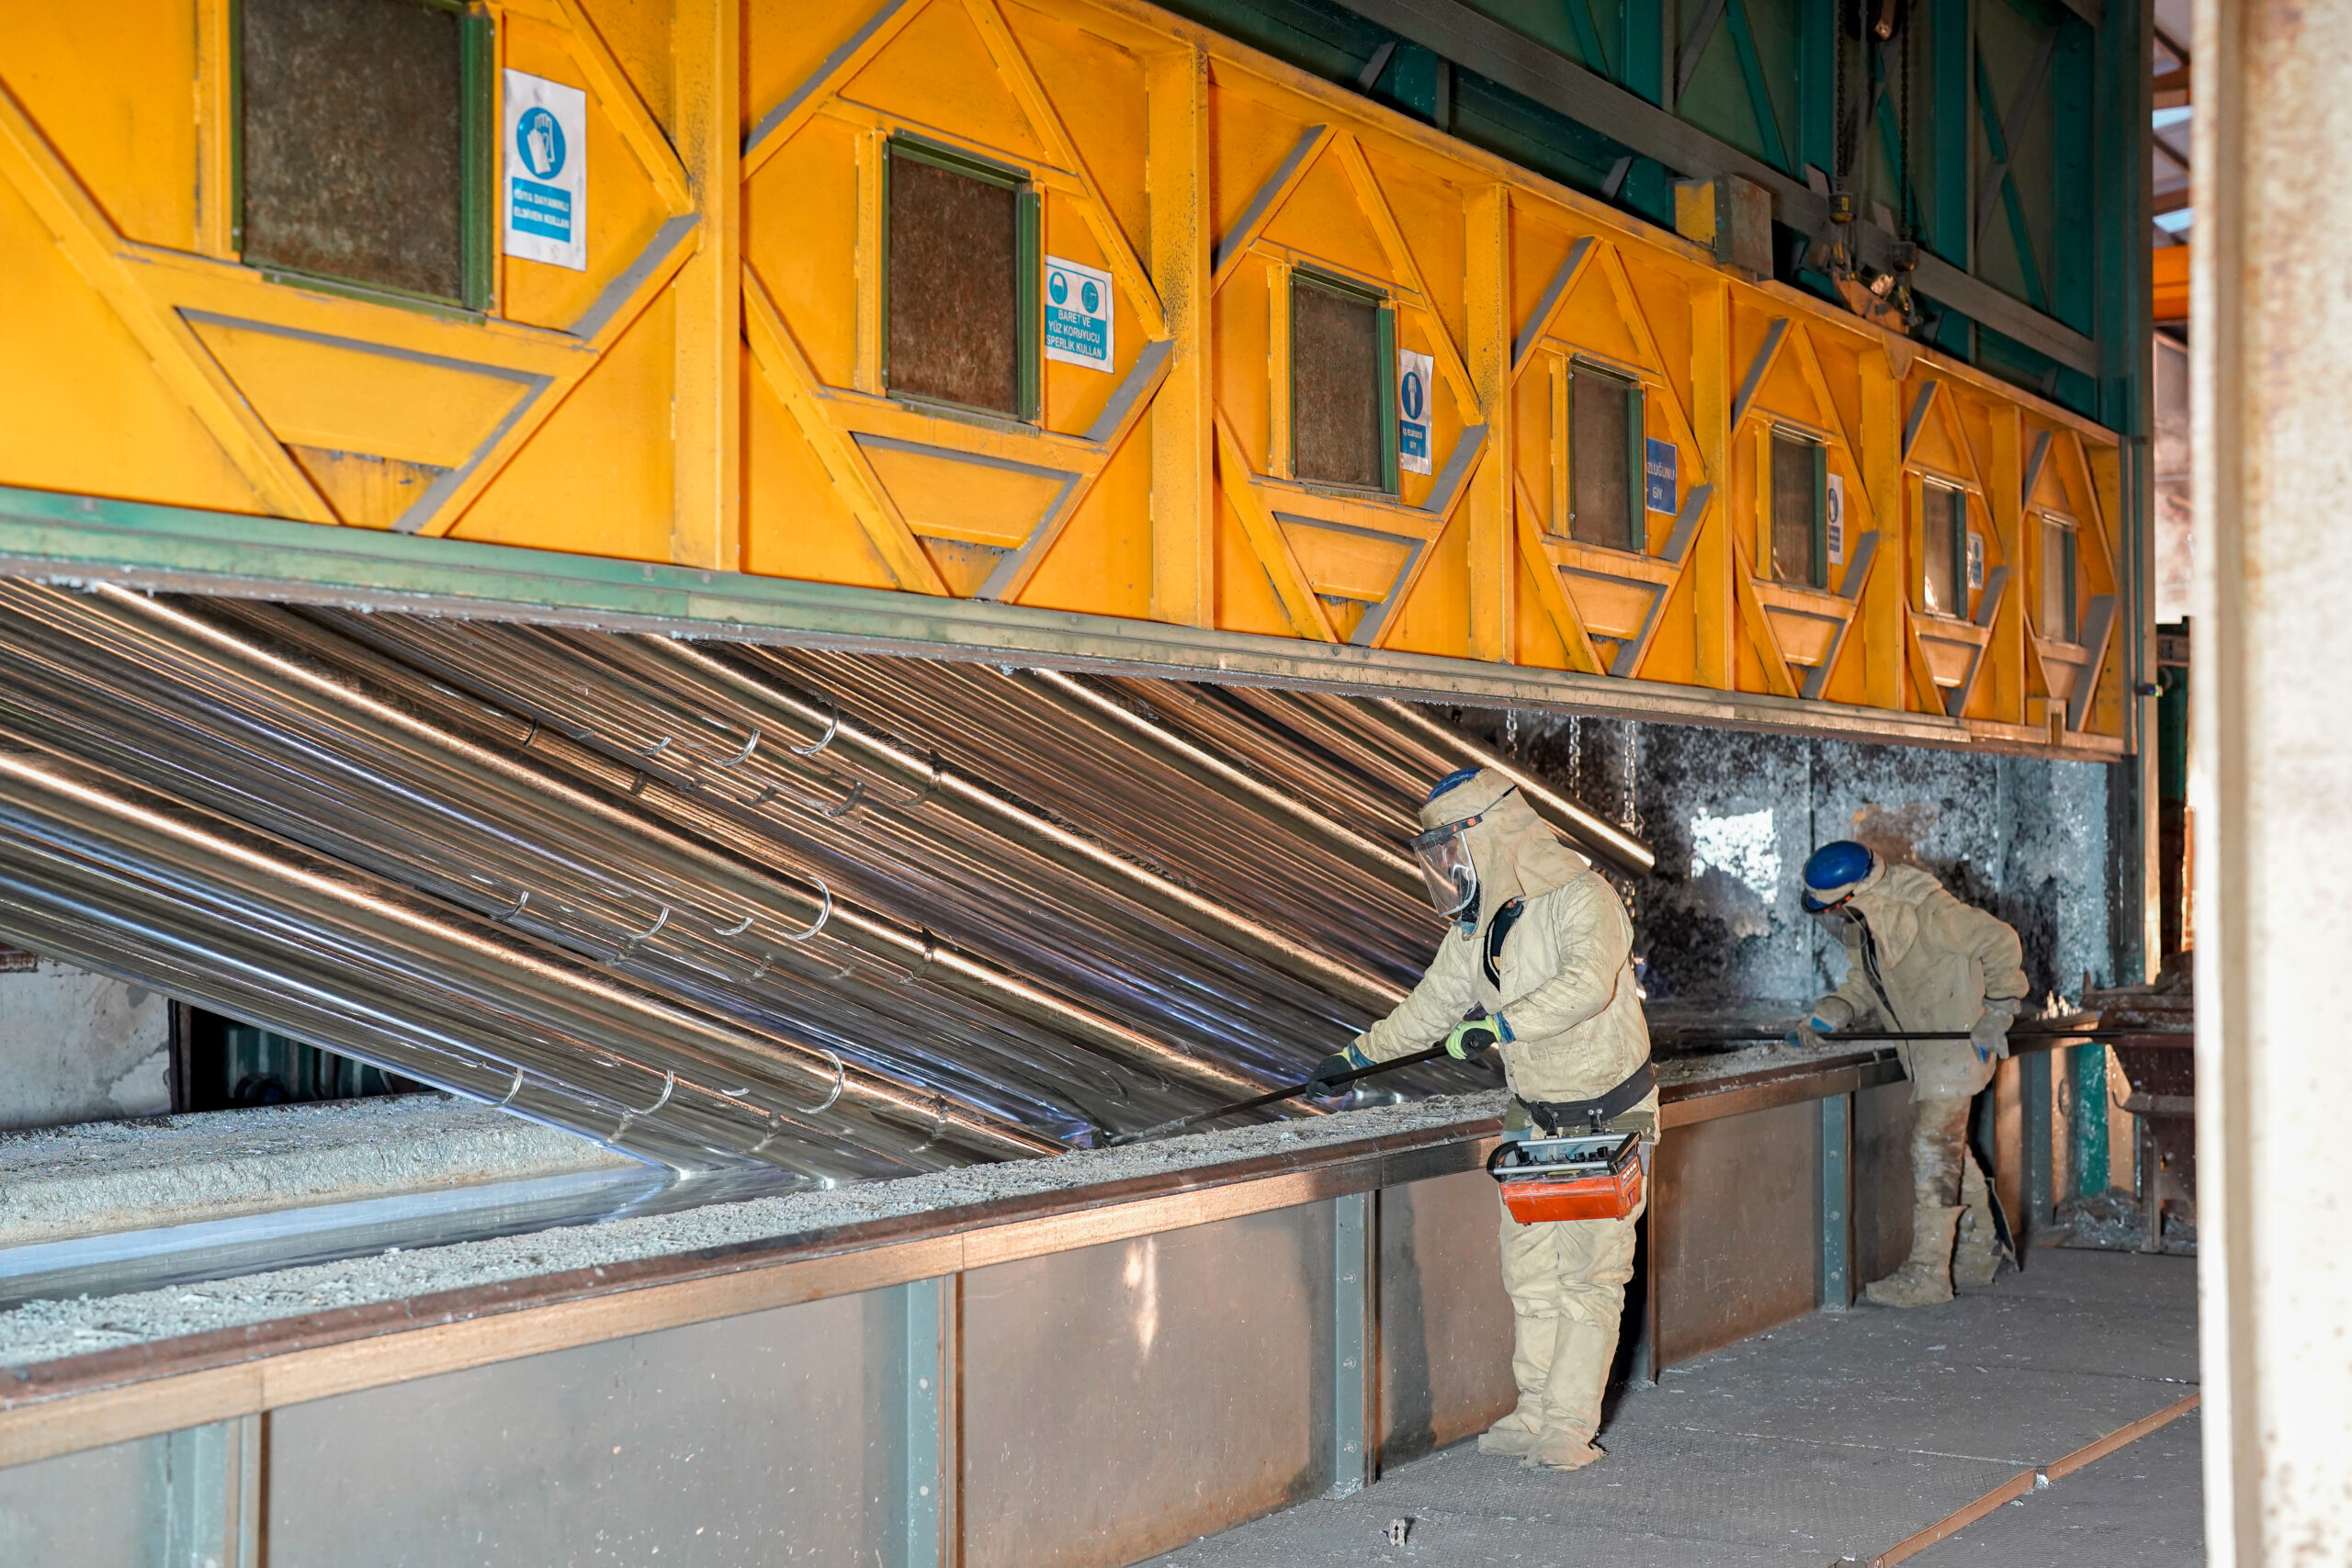
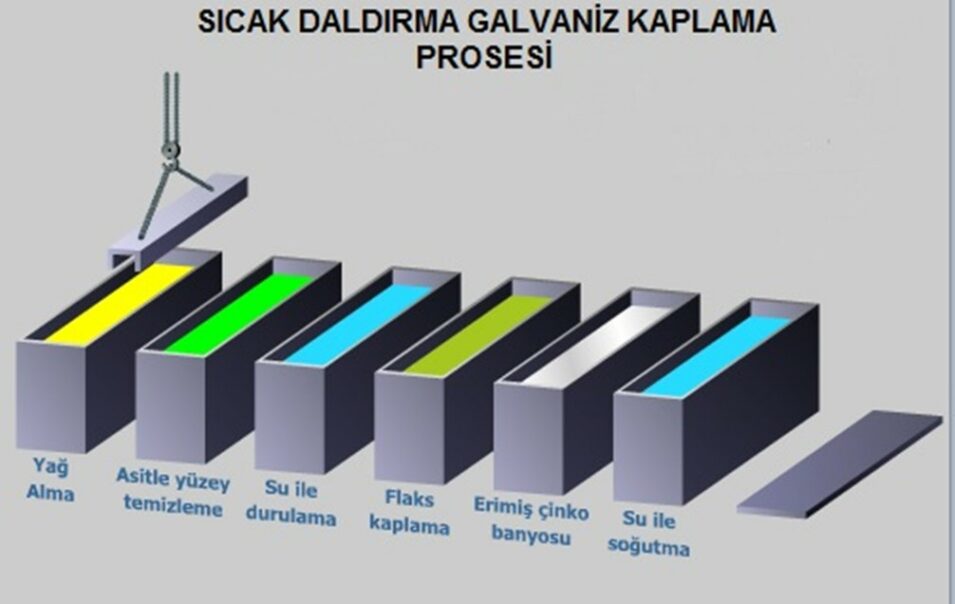
4. Galvanization Protection During Assembly
The galvanized coating, which comes out perfect from the IES Galvanizing factory, can be damaged during installation. This must be prevented and repaired.
Cutting and Drilling in the Field
In principle, it is undesirable to cut or drill galvanized material on site. Because every hole is a “wound” open to corrosion.
-
- Since IES Galvaniz performs project-specific CNC hole drilling, there is no need for extra processing on site. However, in cases of necessity (height shortening, etc.), the treated area should be protected immediately.
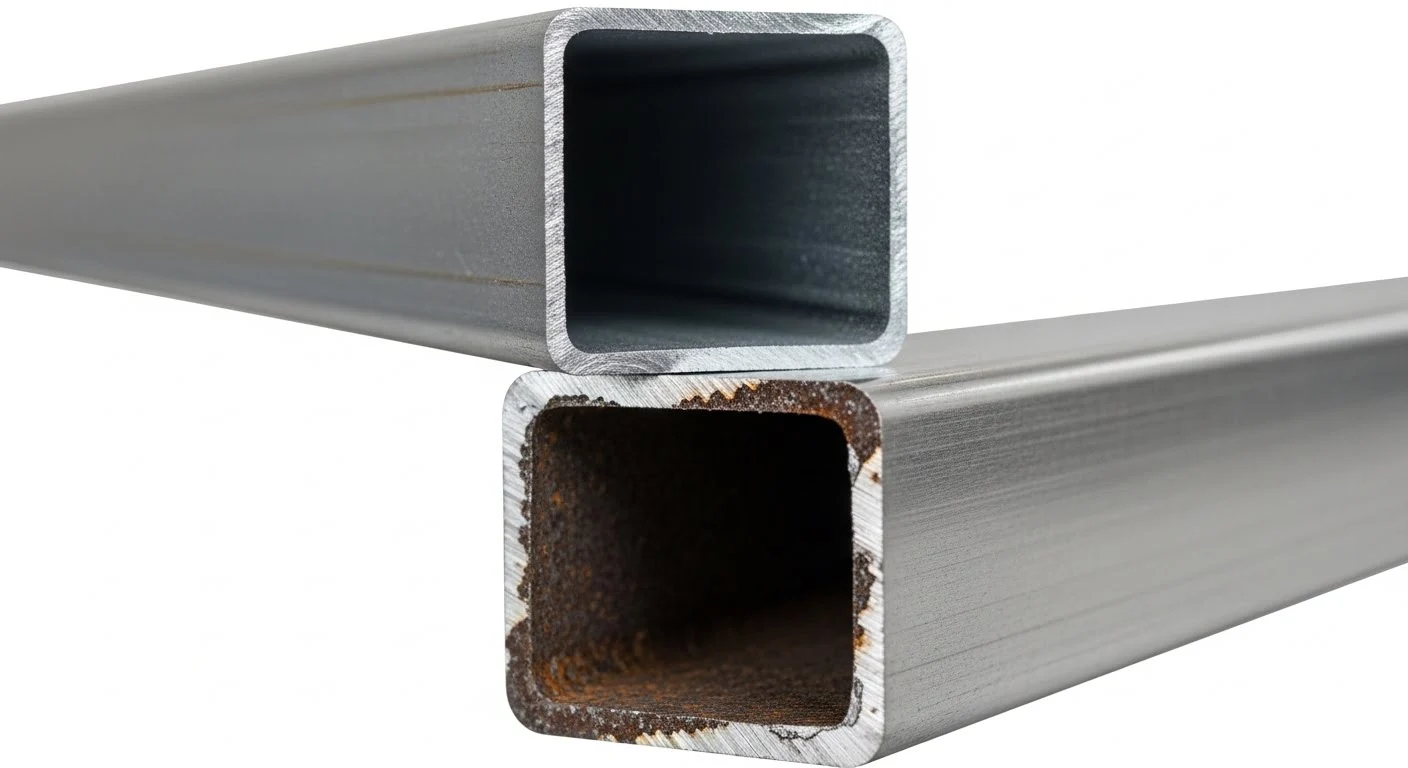
Cold Galvanized Repair
Scratches on the rail surface may occur on the strut heads or as a result of key slippage during fastening.
-
- Solution: These areas should be repaired by painting with zinc rich paints or cold galvanizing sprays in accordance with the standards (min. 100 microns). If this is not done, the barrier starts to rust at that point.

5. Guardrail Maintenance and Periodic Inspection Processes
Highways are not “set it and forget it” systems. The highway teams should carry out maintenance at regular intervals.
Pollution and Cleanliness
The “cat’s eye” (reflectors) on barriers are vital for driving safety at night. Reflectors and barrier surfaces contaminated with mud and exhaust soot should be washed with pressurized water. In addition, washing the salts thrown in winter in early spring prolongs the life of galvanizing.
Bolt Loosening Checks
The constant vibration created by heavy tonnage vehicles passing on the road may cause the bolts to loosen over time. Torque control should be performed at least once a year and missing bolts should be completed.
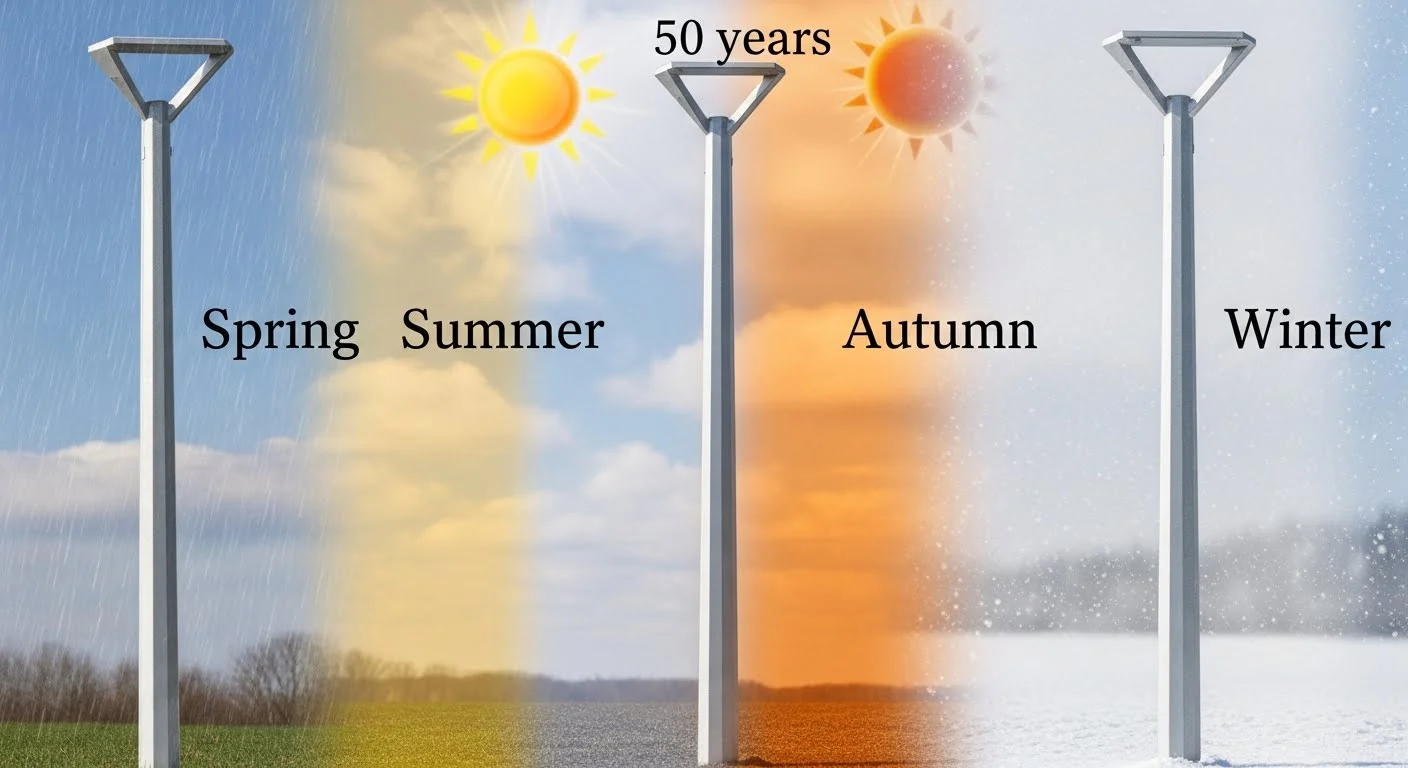
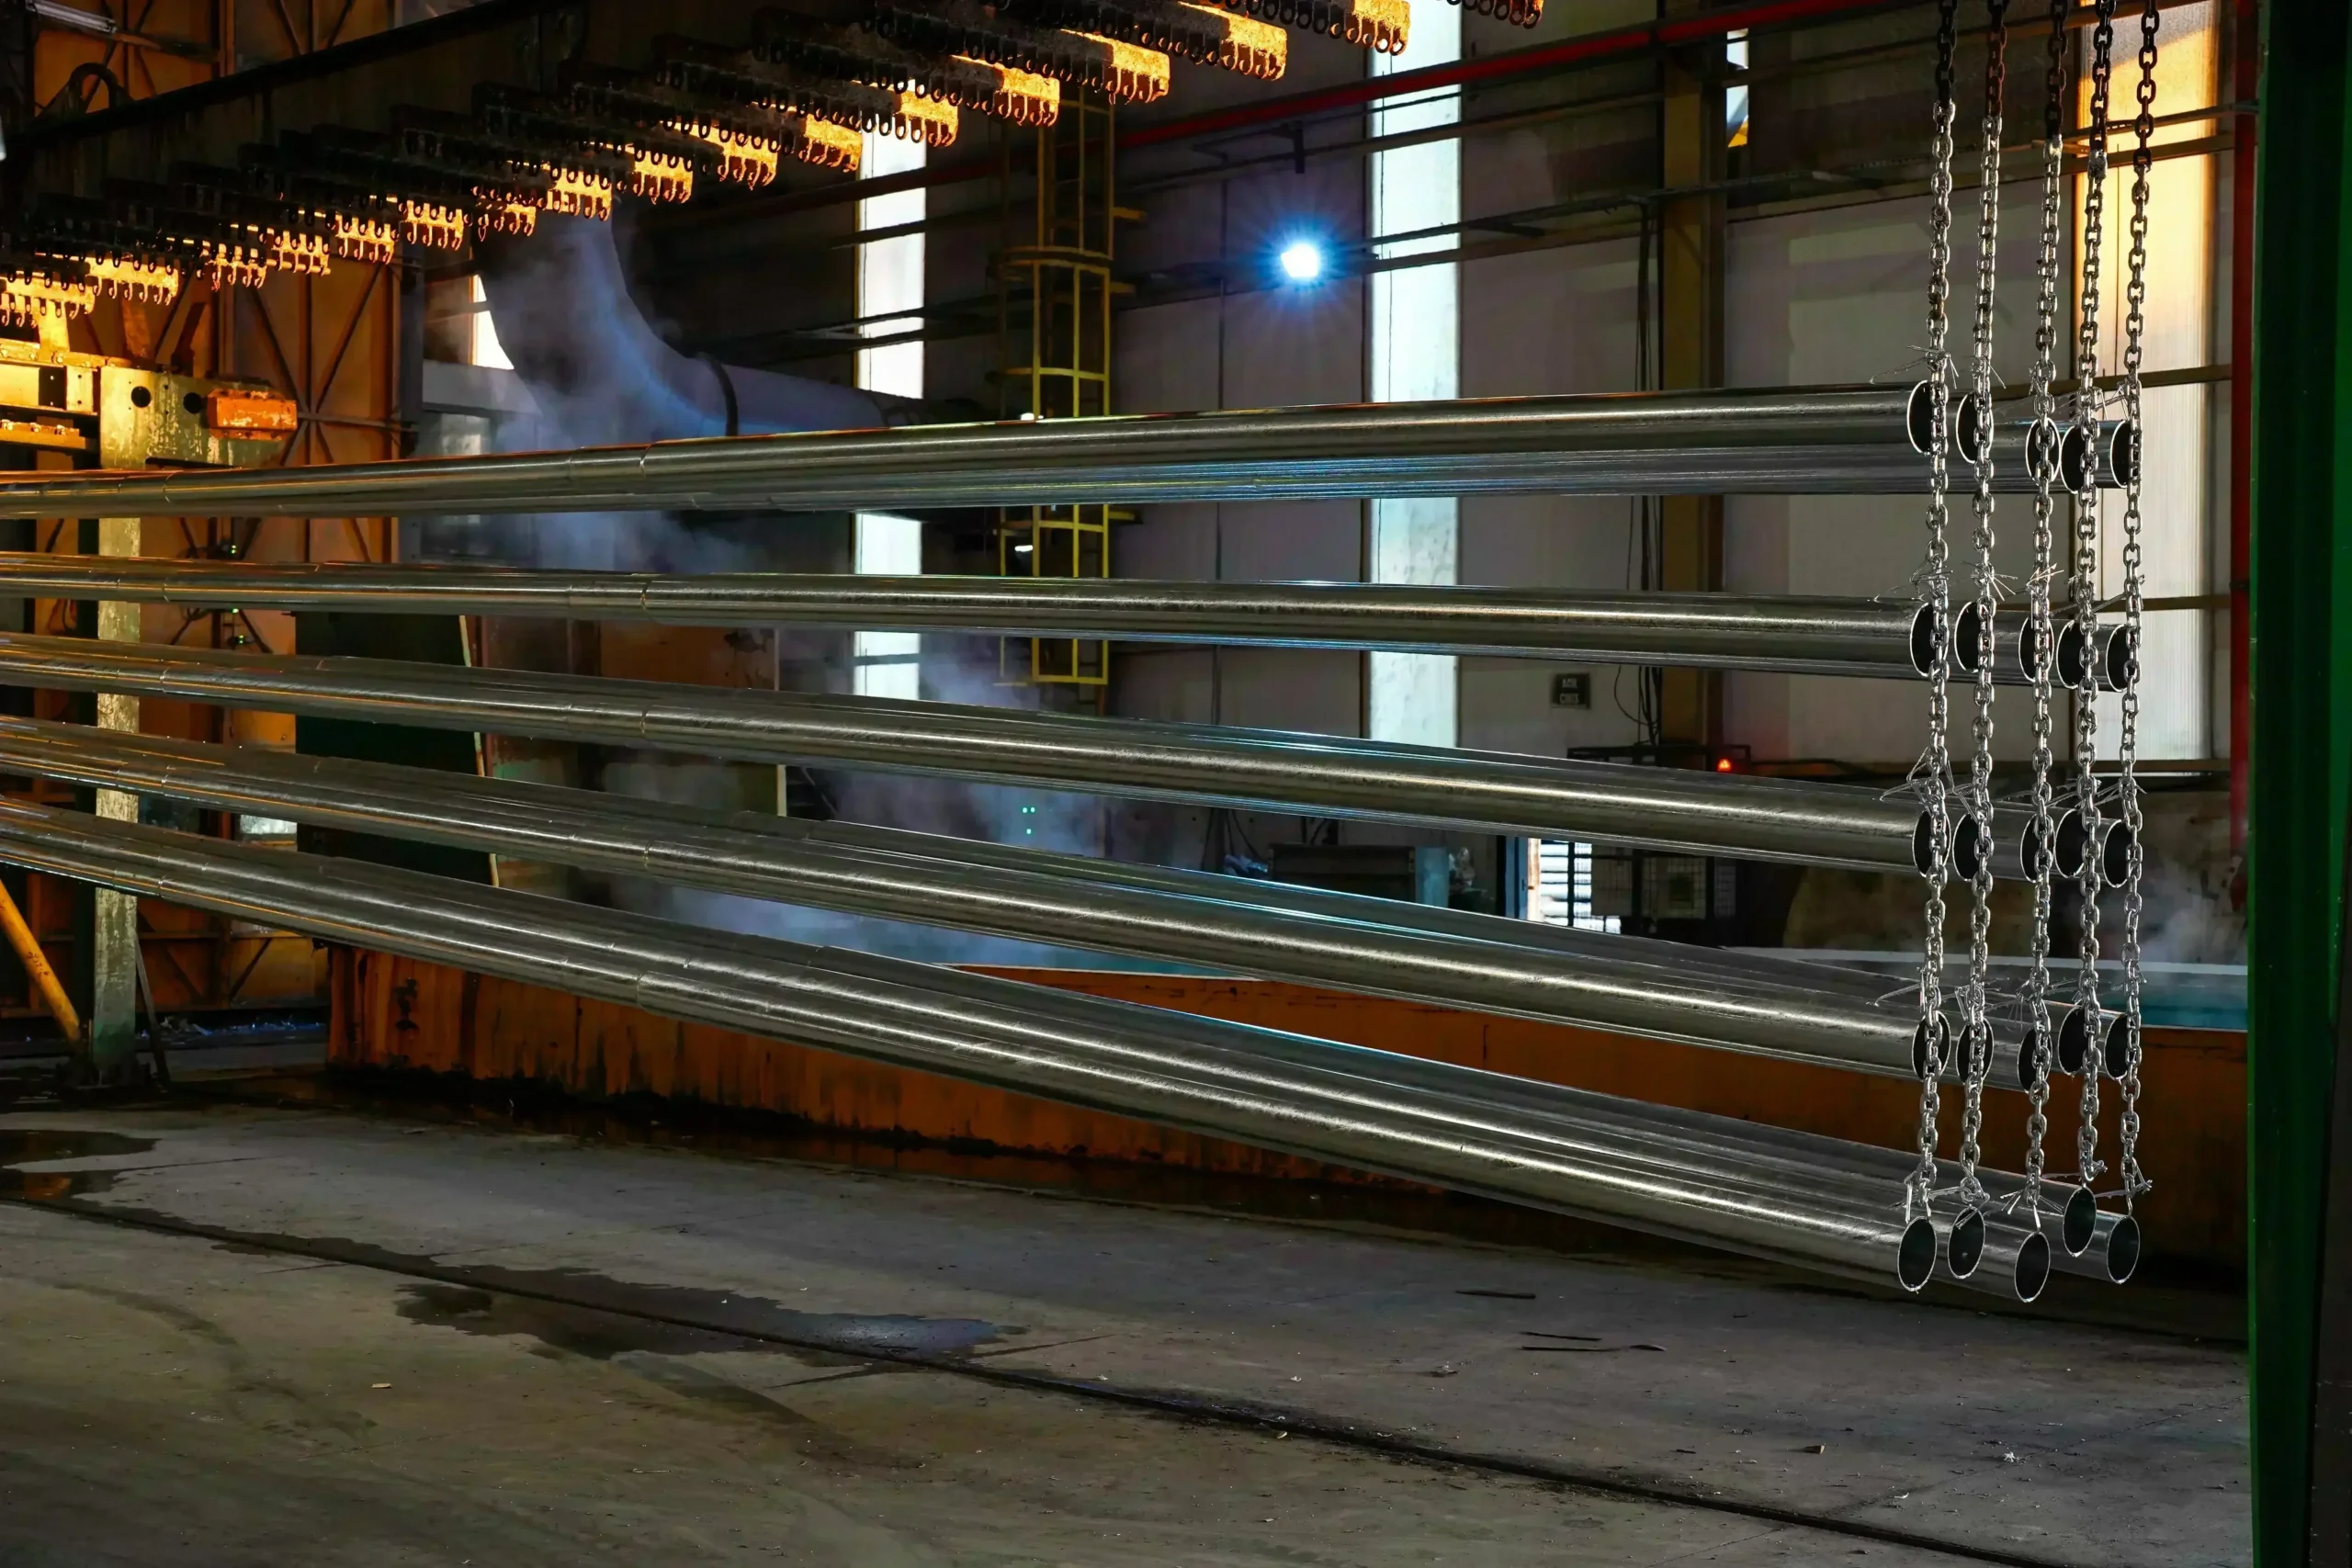
Corrosion Monitoring
IES Galvanized products have a stainless steel life of 20+ years. However, in old systems that have completed 15-20 years, regional corrosion should be checked and local repair or replacement should be made if necessary.
6. Emergency Repair After Accident (Damage Management)
When an accident occurs, the damaged barrier must be repaired as soon as possible so that it does not cause a “second accident”.
-
- Safety: The accident site is secured.
-
- Damage Assessment: Are only the rails crushed? Are the uprights also bent? Or is it just a broken wedge?
-
- Dismantling: Damaged parts are dismantled up to the intact area (joint).
-
- Assembly: Parts of the same standard (compatible) supplied from IES Galvanized stocks are assembled.
-
- Important: A damaged and bent steel rail cannot be “straightened” and reused. Due to metal fatigue, it does not function in the second accident. It must be replaced with a new one.
-
- Assembly: Parts of the same standard (compatible) supplied from IES Galvanized stocks are assembled.
-
- Recycling: Removed damaged steel is treated as 100% recyclable scrap.
7. Common Assembly Mistakes
The most common errors encountered in the field and returned by the acceptance committee:
-
- Inadequate Ramming Depth: Taking a “shortcut” and cutting the post when the post hits hard ground. This causes the barrier to tip over on impact.
-
- Expanding Rail Holes (Oxygen Cutting): When the fabricated holes do not meet each other, the holes are enlarged by oxygen welding. This process burns the galvanized steel and destroys the structure of the steel. You will not experience this problem because the hole sensitivity is exact in IES Galvaniz products.
-
- Missing Bolts/Washers: Not installing bolts in every hole or using washers to save costs.
8. Frequently Asked Questions (FAQ)
1. Is the guardrail post mounted in concrete?
Yes, it can be done. “Nailing” cannot be done on bridges or where there is a concrete floor. Instead, uprights with a flange (plate) at the base are fixed to the concrete with steel dowels (anchors).
2. How long does it take to install 1 kilometer of guardrail?
Depending on the ground condition and the experience of the team, a professional team can install an average of 200-400 meters of barrier per day (with a hammering machine).
3. Can galvanized barrier be painted?
Galvanized (gray) is used as standard. However, galvanized paint (yellow, black, etc.) can be applied for warning purposes at tunnel entrances or for aesthetic purposes in the city.
4. What is the difference between Sigma profile and C profile?
Both are strut type. Sigma profile has higher strength and energy absorbing ability due to its geometry. Generally preferred at higher security levels (H1, H2).